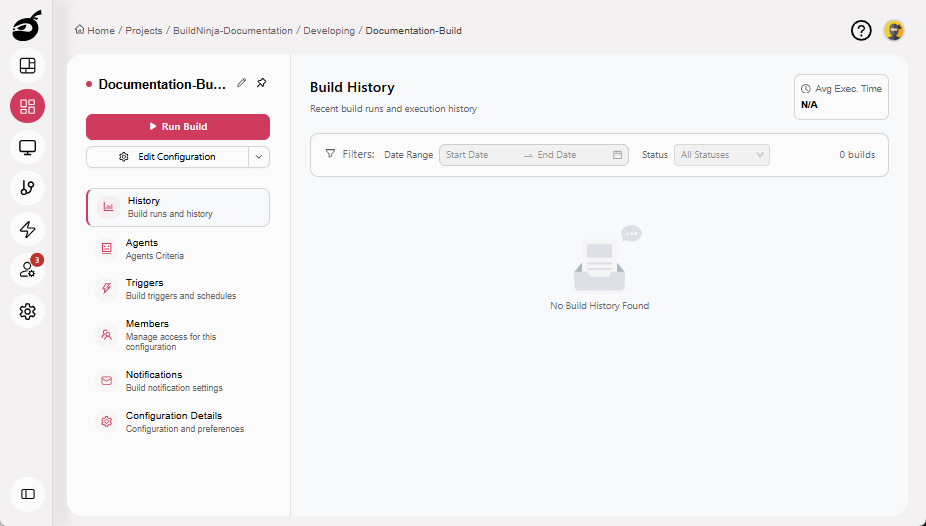
Configure and Edit Builds
Builds in a CI/CD environment represent a sequence of steps executed automatically to test, package, or deploy your application. The build configuration includes parameters such as the version control repository, execution steps, artifacts, etc.
Create Build Configuration
-
Navigate to Projects
 to access the project management interface.
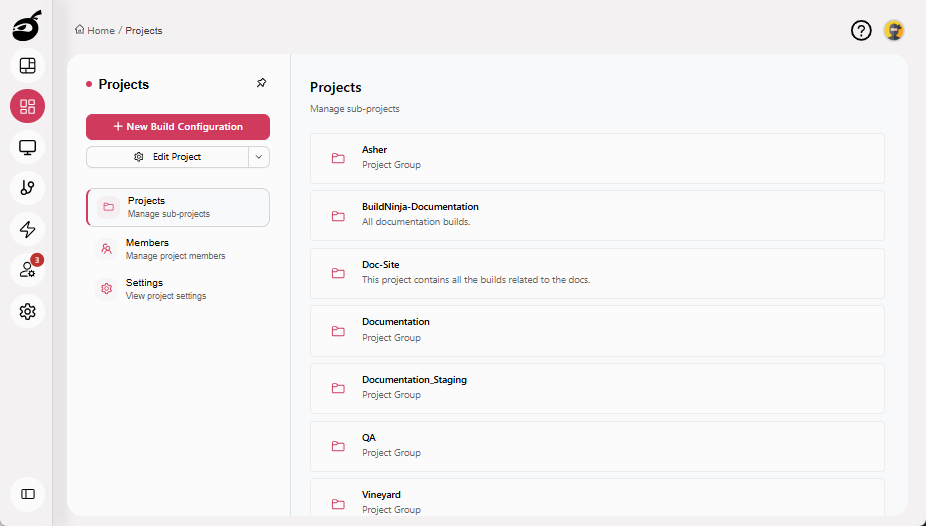
-
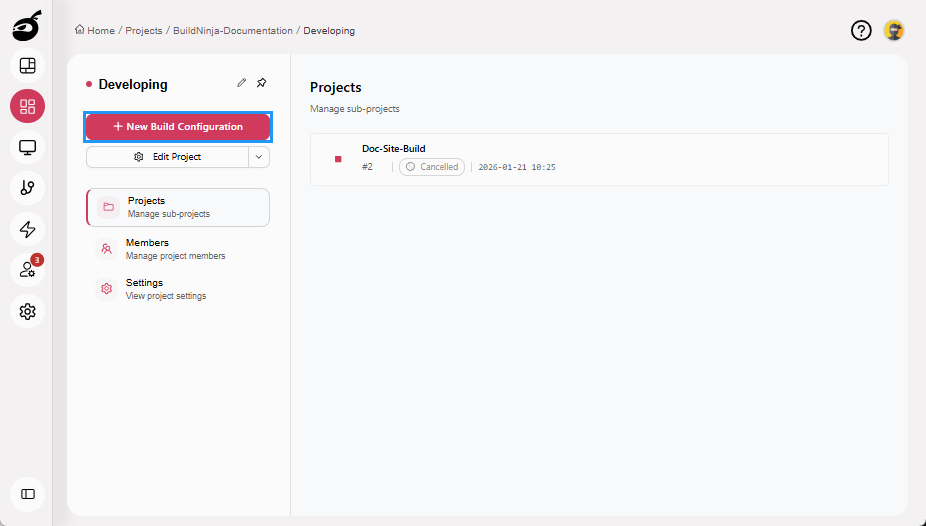
Select the project where you want to create the build and click New Build Configuration.
-
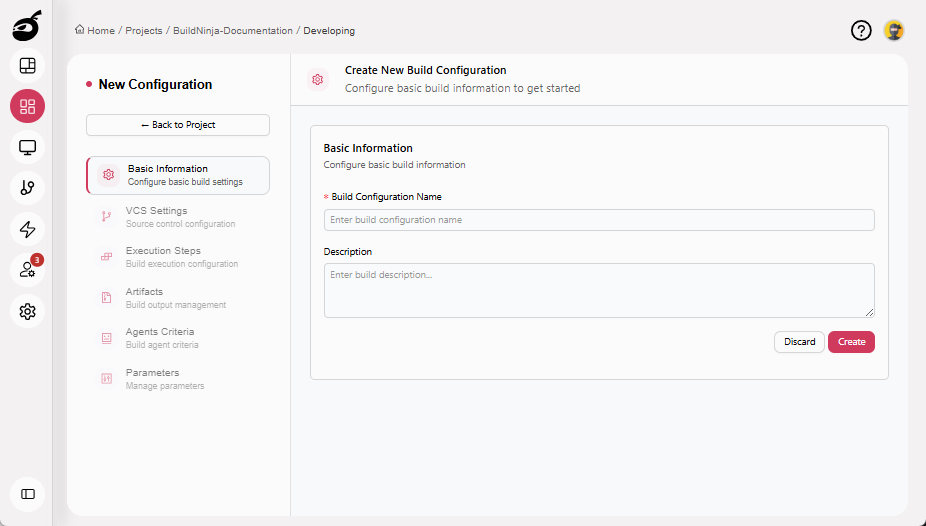
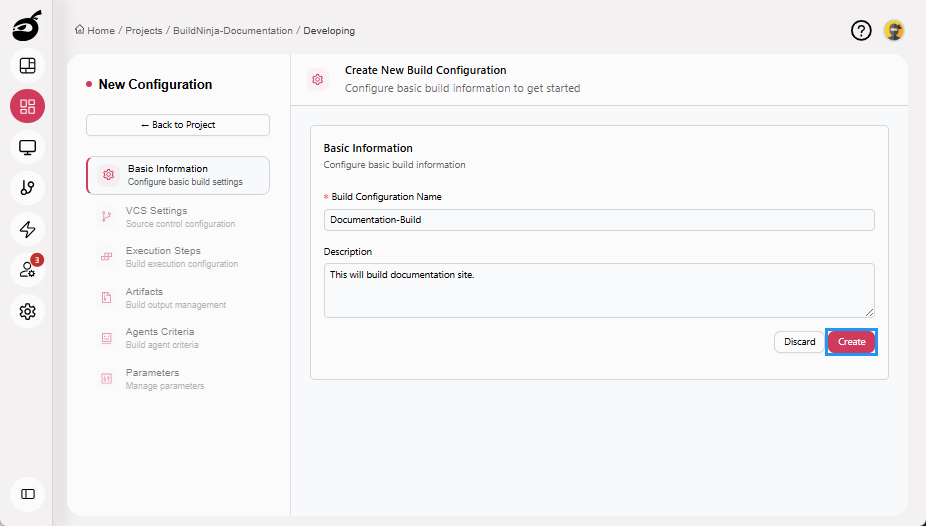
Enter Build Configuration Name and an optional Description.
-
Click Create to create the build configuration.
-
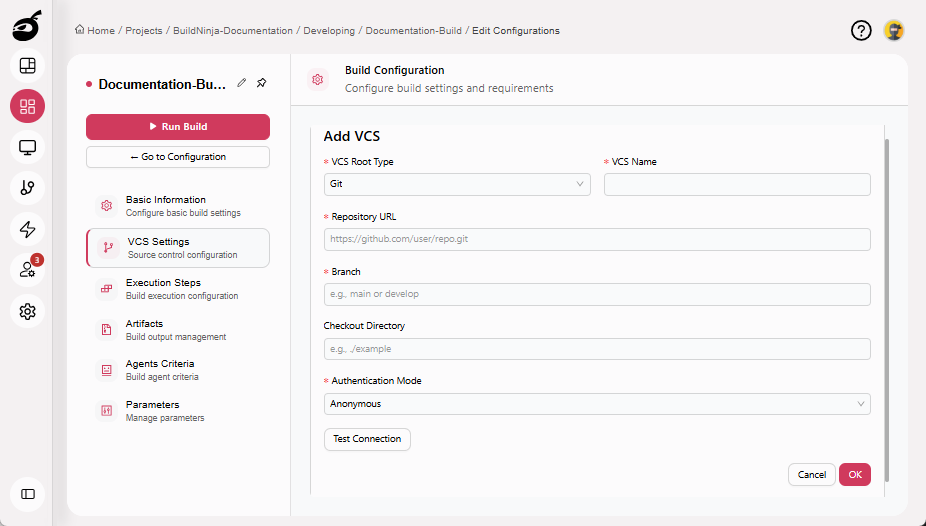
Navigate to VCS Settings and click Add VCS.

-
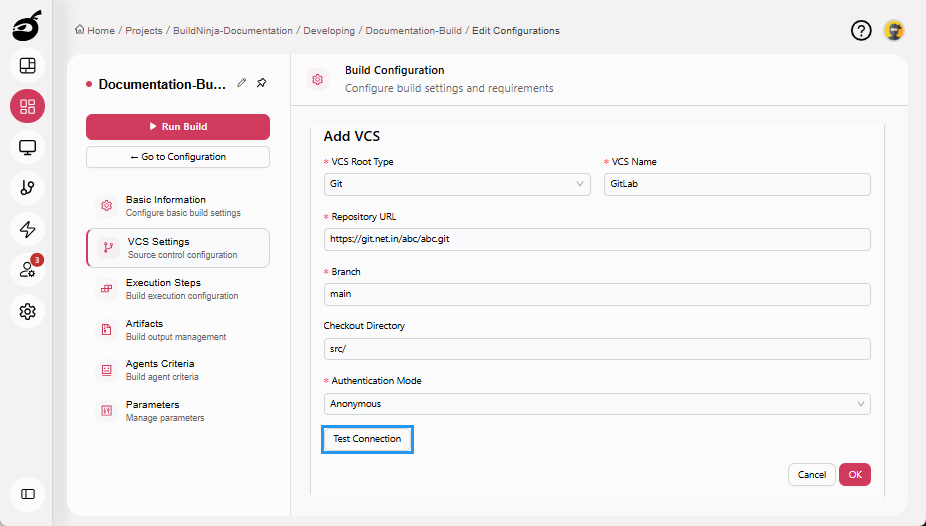
Enter the following details:
- VCS Root Type: VCS type from where the source code will be fetched, such as Git, GitHub, Bitbucket, or other repository.
- VCS Name: A unique name given by the user.
- Repository URL: URL of the source code placed on Git.
- Branch: The branch to build from, such as main or develop.
- Checkout Directory: The local directory (on the Build Agent) where the repository will be checked out.
- Authentication Mode: The method to authenticate the VCS while fetching the source code from the VCS.
-
(Optional) Click Test Connection to verify the configuration before saving.
-
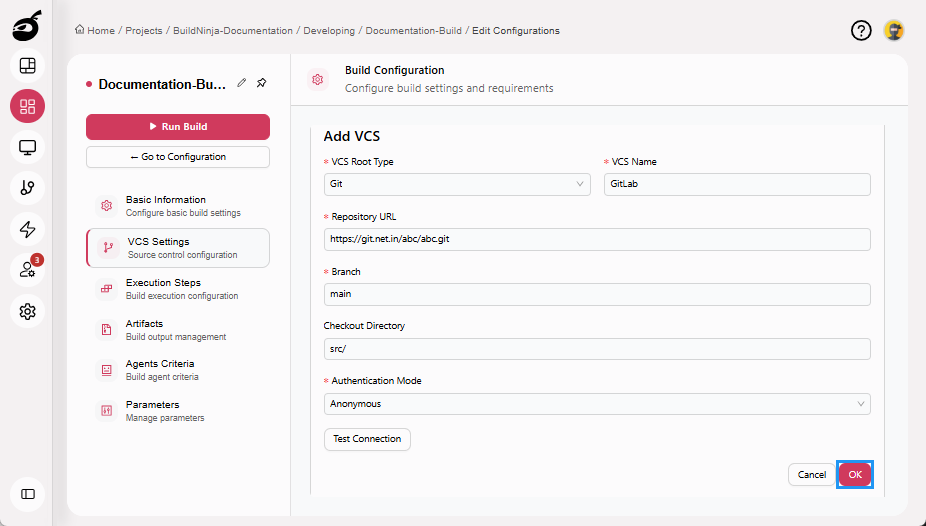
Click OK to add the VCS.
-
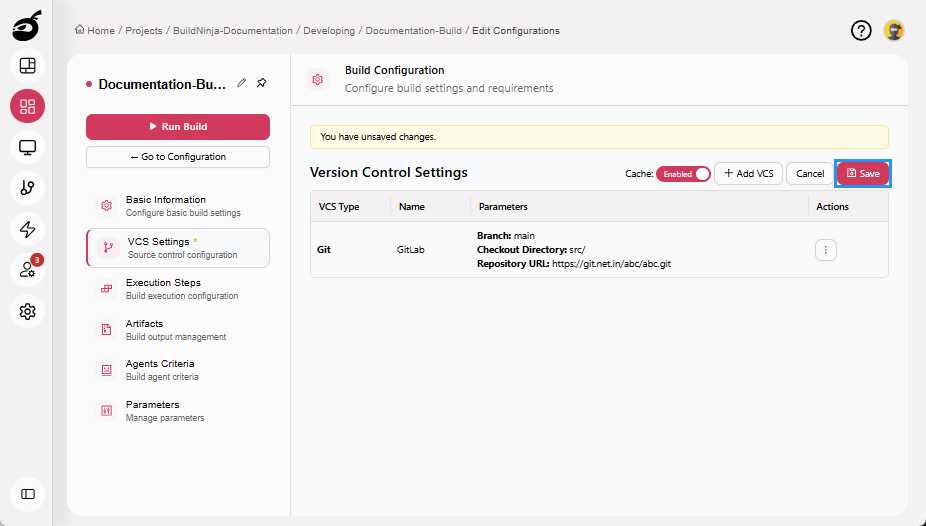
Click Save to save the VCS Settings.
-
Navigate to Execution Steps and click Add Execution Step.
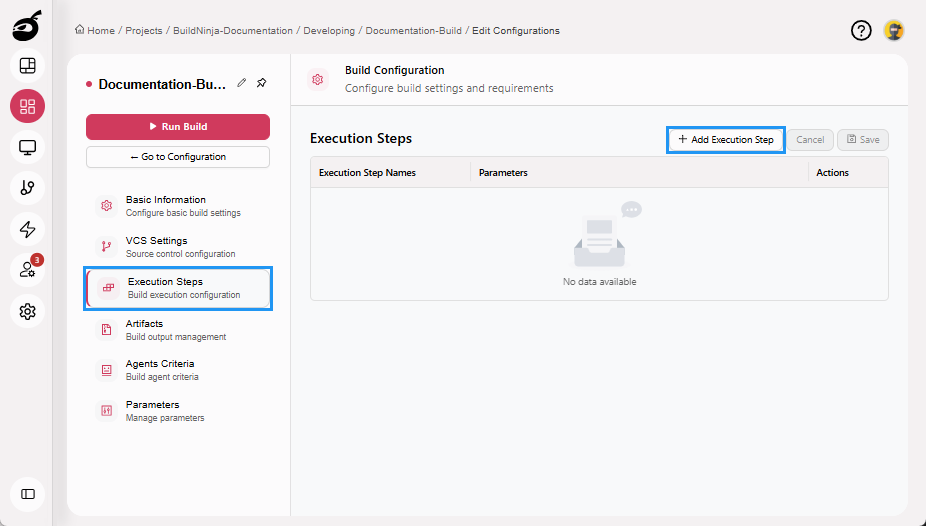
-
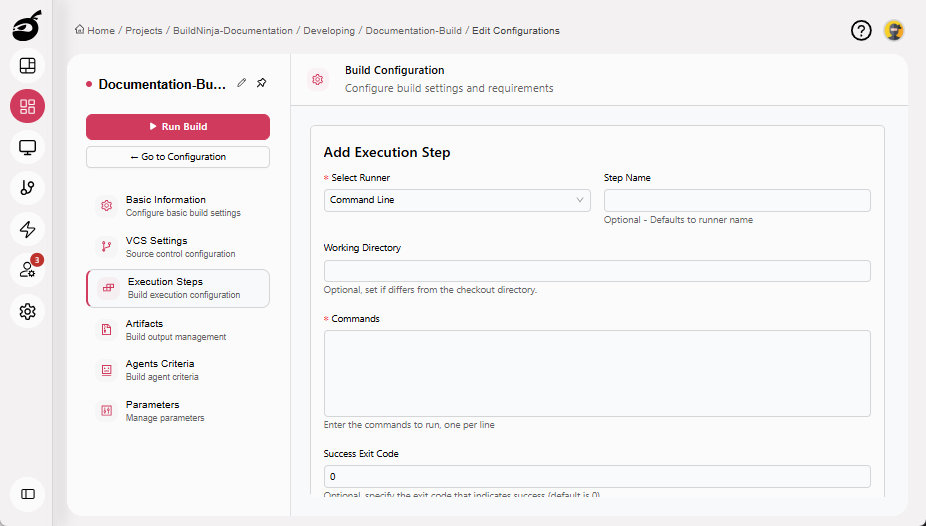
Enter the following details:
- Select Runner: The machine or environment, such as Command Line, Config File, MS Build, VS Test, SSH, or Script that executes build, test, and deployment steps.
- Step Name: Name of the step (optional).
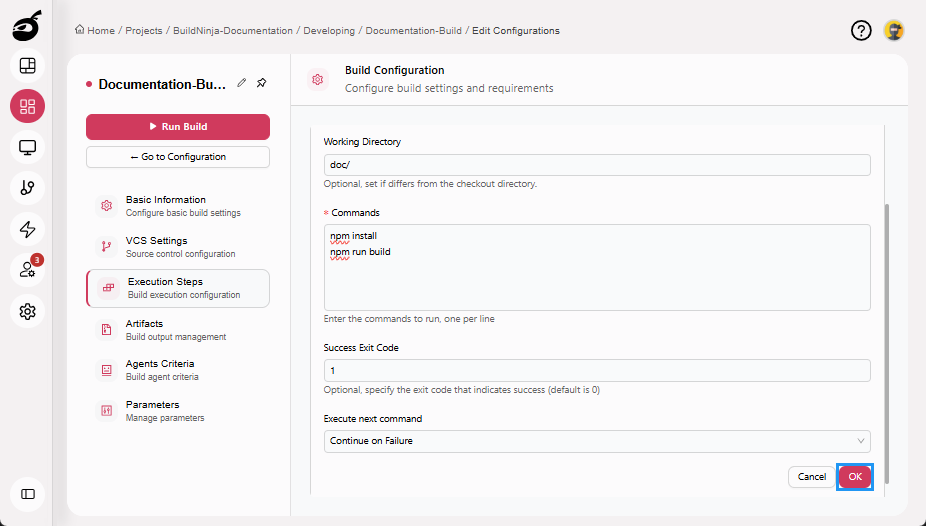
- Working Directory: The directory where the commands will be executed. This is an optional field; if left blank, the default working directory will be used.
- Commands: The shell command(s) executed as part of your build workflow.
- Success Exit Code: Optional. Specifies the exit code that should be treated as a successful execution. The default success exit code is
0. - Execute Next Command: Controls whether subsequent steps continue to run if this step fails. When enabled, the build proceeds even if this step returns a non-success exit code.
 note
noteThis procedure demonstrates configuration using the Command Line runner. For more information on build runners and their parameters, see Build RunnersBuildNinja's user interface is designed to provide quick access to all core features, from managing projects and viewing builds to configuring projects and deployments..
-
Click OK to add the execution step.
-
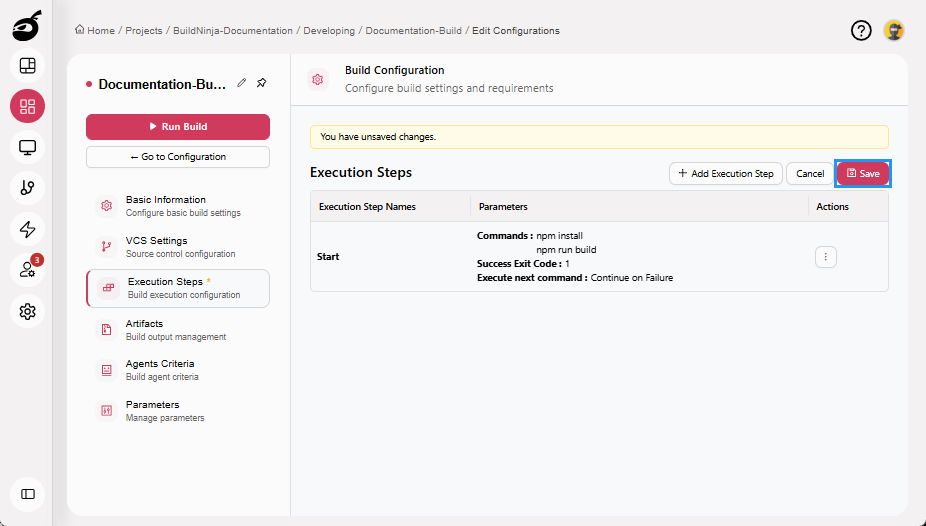
Click Save to save the Execution Steps.
-
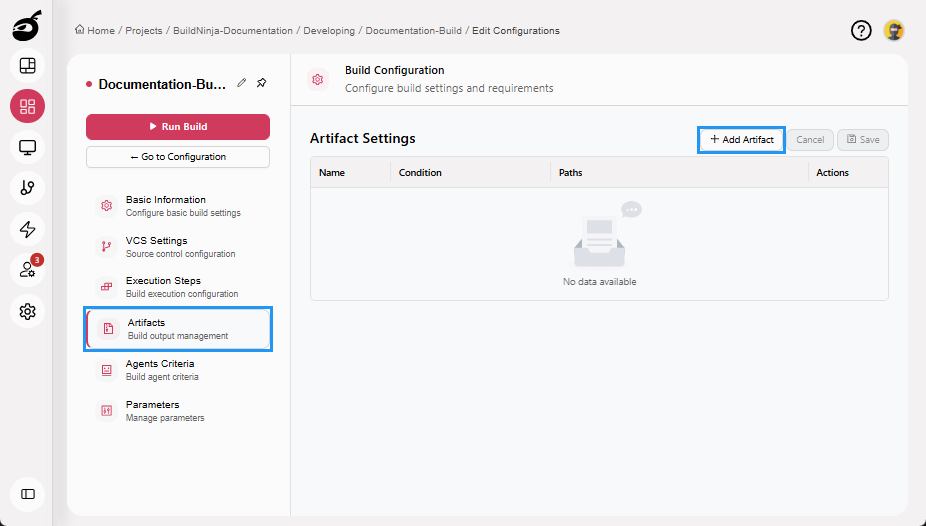
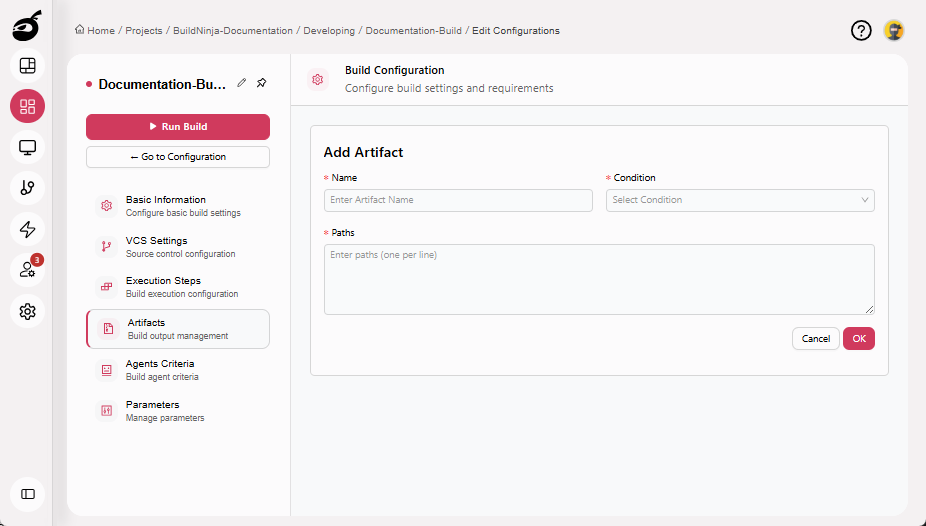
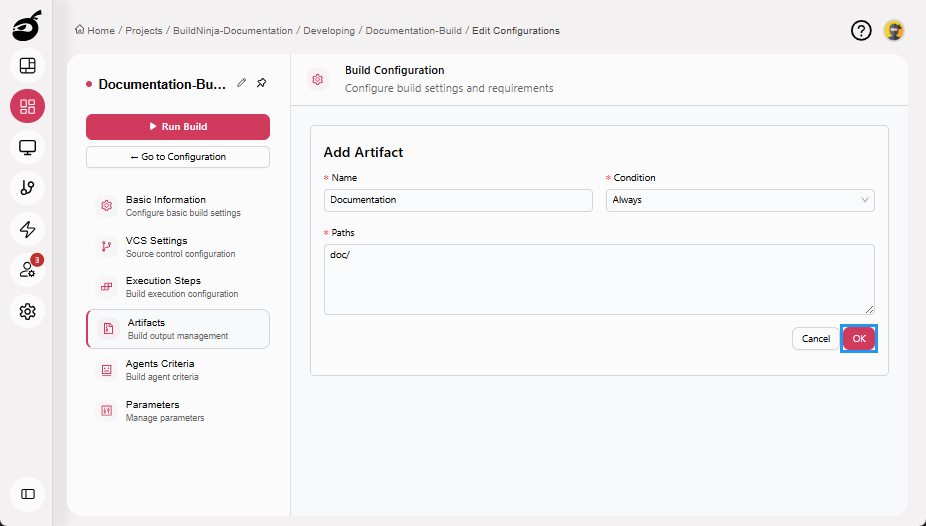
Navigate to Artifacts and click Add Artifact.
-
Enter the following details:
- Name: Name of the artifact.
- Condition: Defines when the build artifact will be published.
- Paths: The location of files that the BuildNinja will save, upload, or pass to later steps or jobs.
-
Click OK to add the artifact.
-
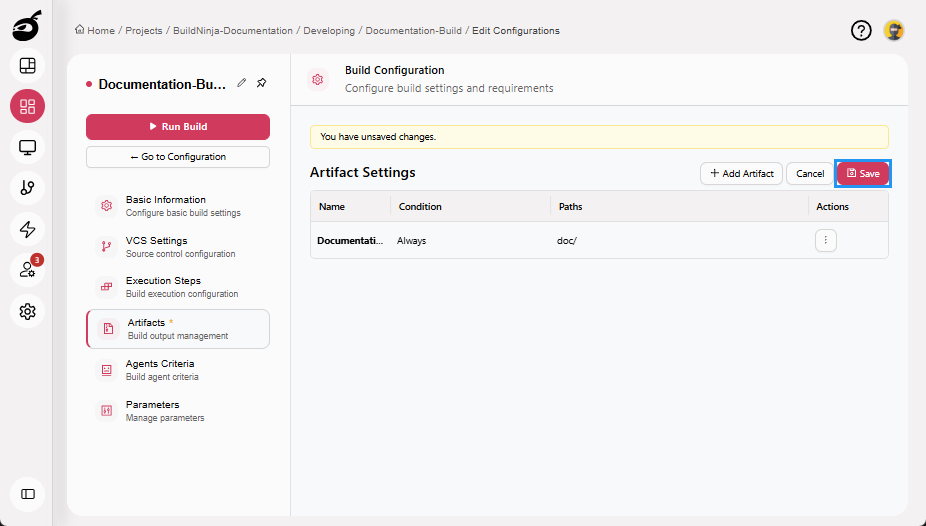
Click Save to save the Artifacts.
-
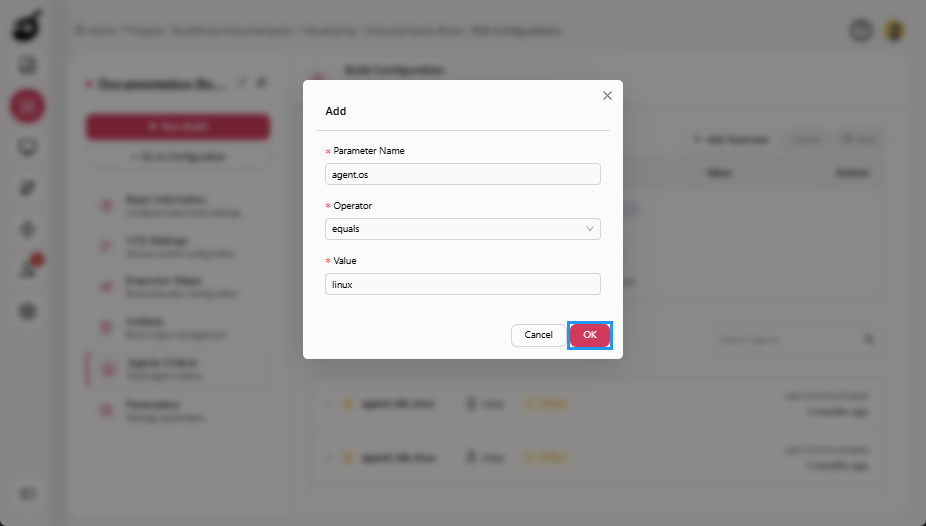
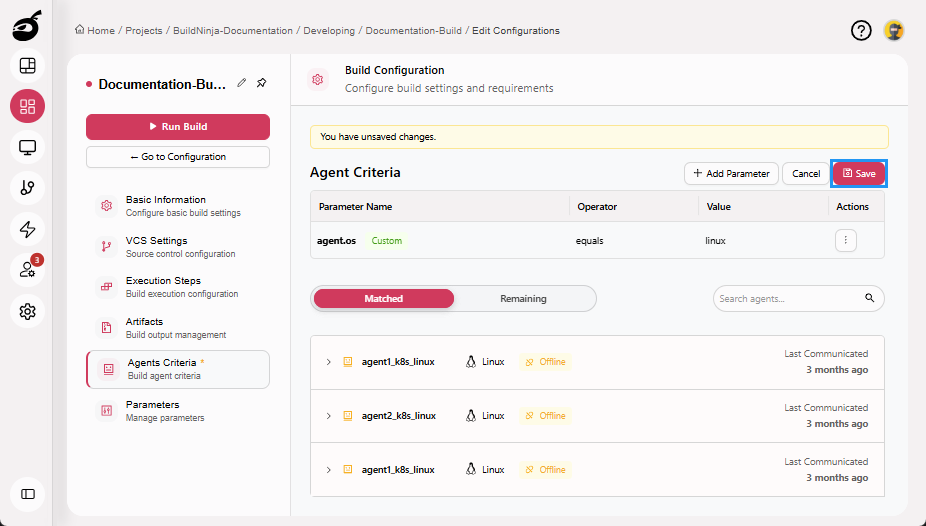
Navigate to Agents Criteria and click Add Parameter.
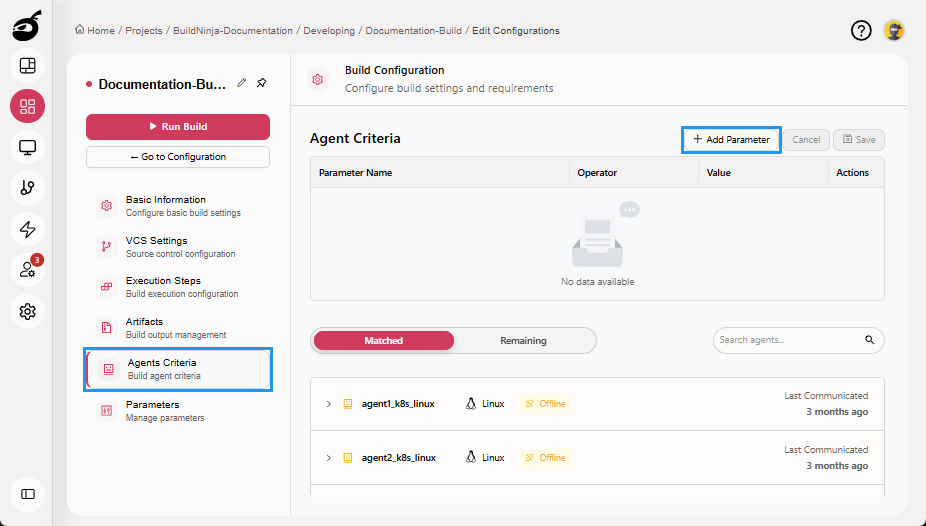
-
Enter the following details:
- Parameter Name: The name of a property or capability that the build agent must have.
- Operator: The condition to check between the parameter and the value.
- Value: The expected value to compare against the parameter.
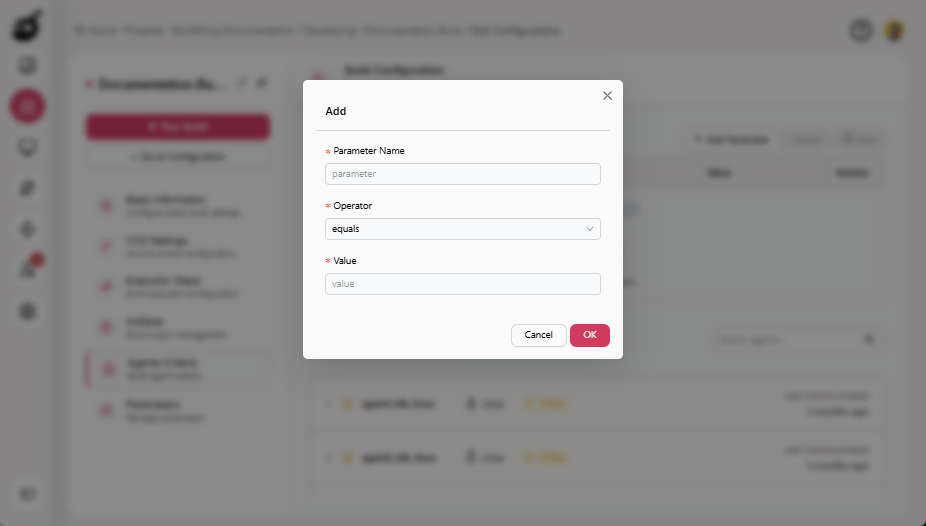
-
Click OK to add the parameter.
-
Click Save to save the Agents Criteria.
-
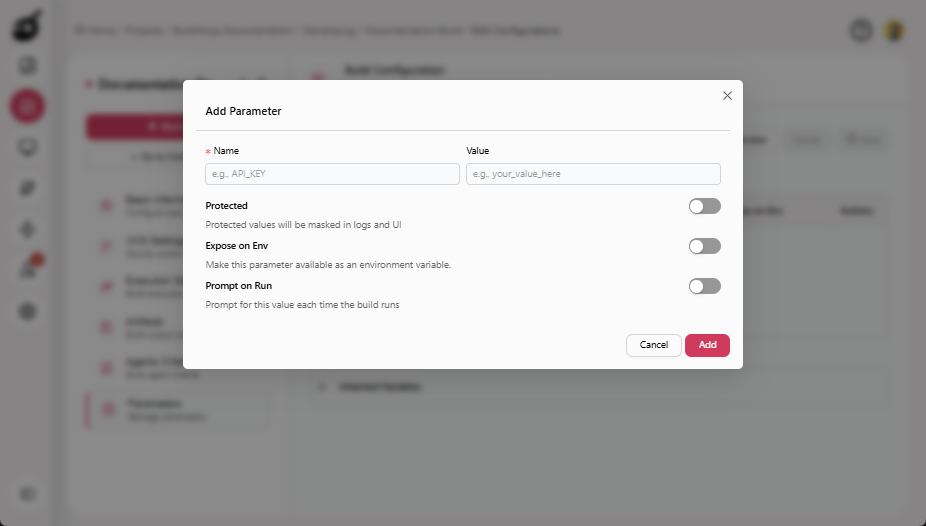
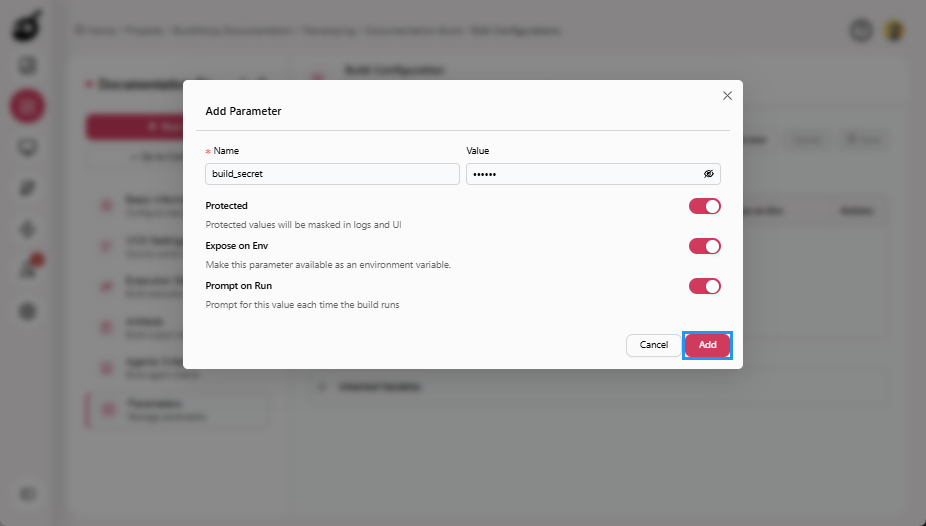
Navigate to Parameters and click Add Parameter.
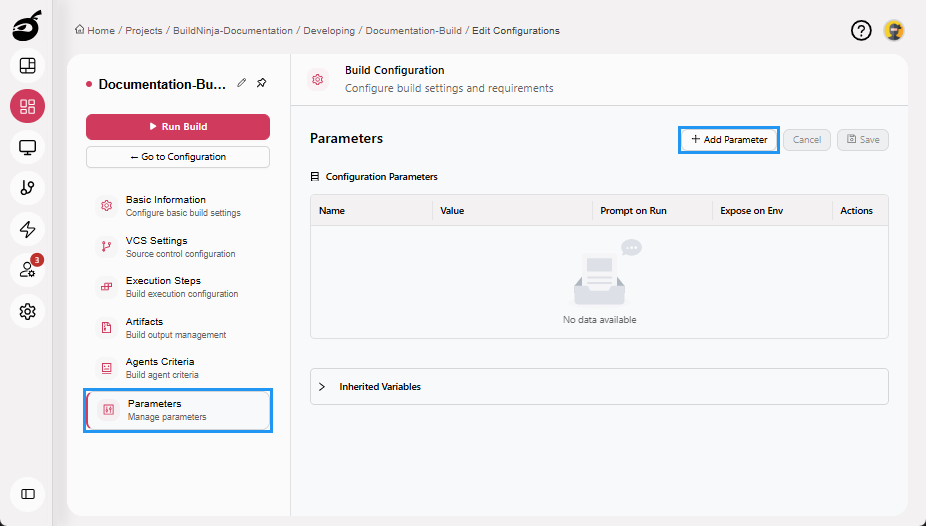
-
Enter the following details:
- Name: Unique identifier of the parameter within its scope.
- Value: The value used unless overridden.
- Protected: Encrypts and masks sensitive values in the UI and logs. Protected values cannot be retrieved in plaintext after creation.
- Expose on Env: Makes the parameter available to all build steps as a standard OS environment variable.
- Prompt on Run: Prompts the user to provide a value when a build is manually triggered.
-
Click Add to add the parameter.
-
Click Save to save the Parameters.
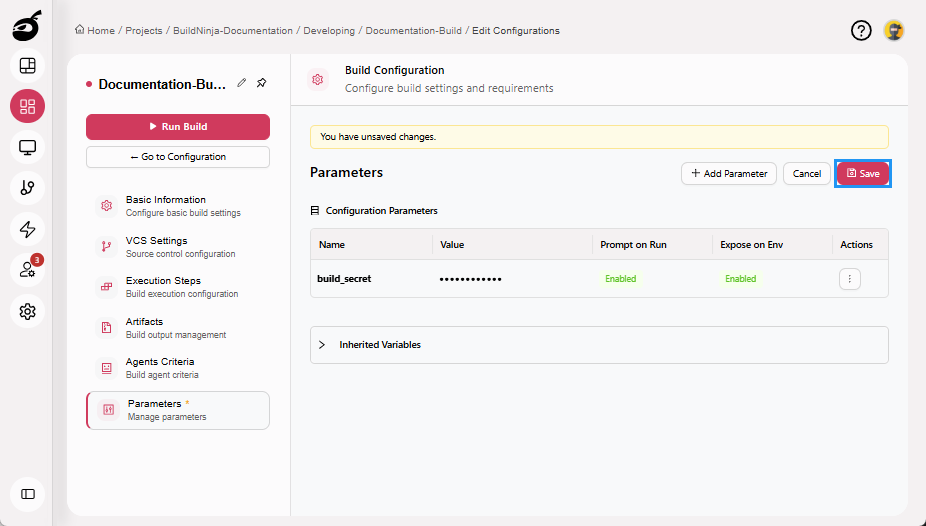
The build configuration is now complete and ready to be executed.
Edit Build Configuration
BuildNinja enables you to update build configuration settings at any time to reflect changes in your development, infrastructure, or deployment workflows. You can modify the following settings:
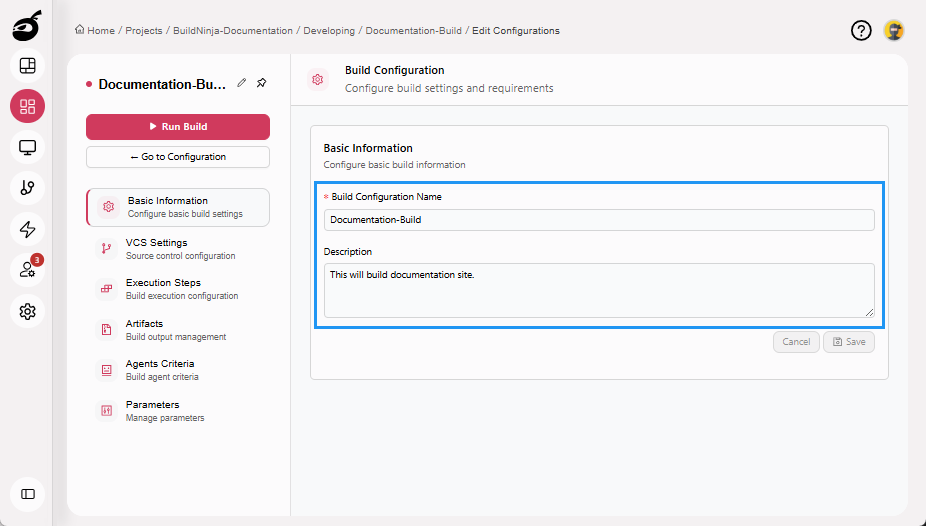
Basic Information
Edit your basic build information using the following options:
- Build Configuration Name: Update the display name of the build configuration.
- Description: Add or change the description to clarify purpose, usage, or ownership.
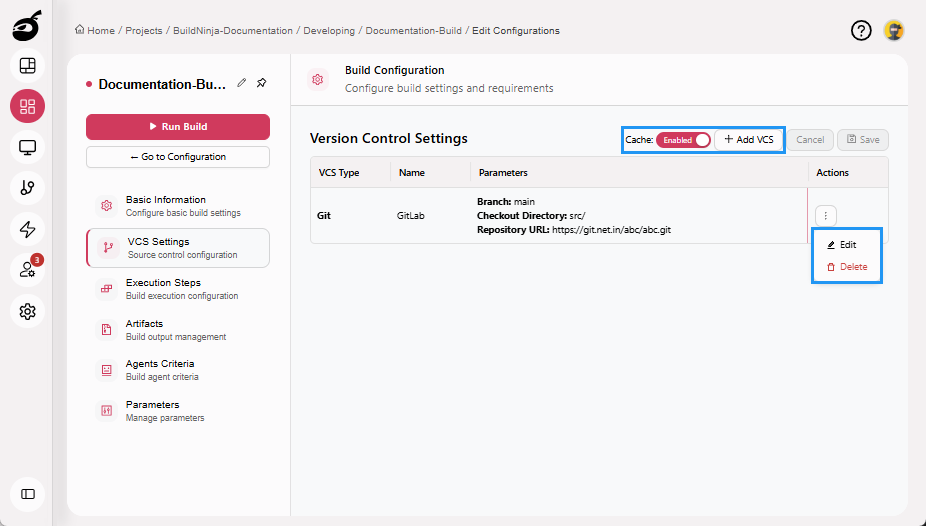
VCS Settings
Edit your Version Control System (VCS) configuration using the following options:
- Cache: Enable or disable configuration caching to control whether cloned repositories and dependencies are reused for faster build execution.
- Add VCS: Connect a new repository.
- Edit: Modify repository details such as URL, branch, or authentication method.
- Delete: Remove VCS settings that are no longer needed.
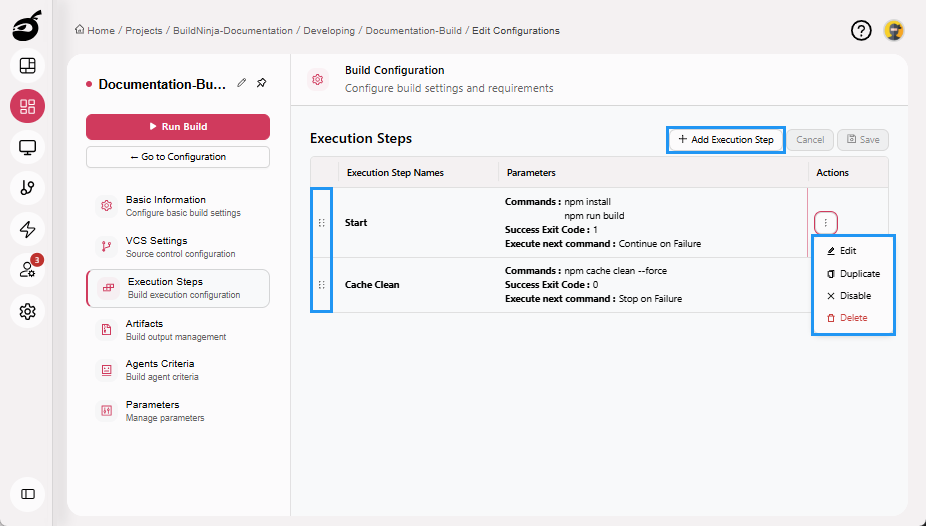
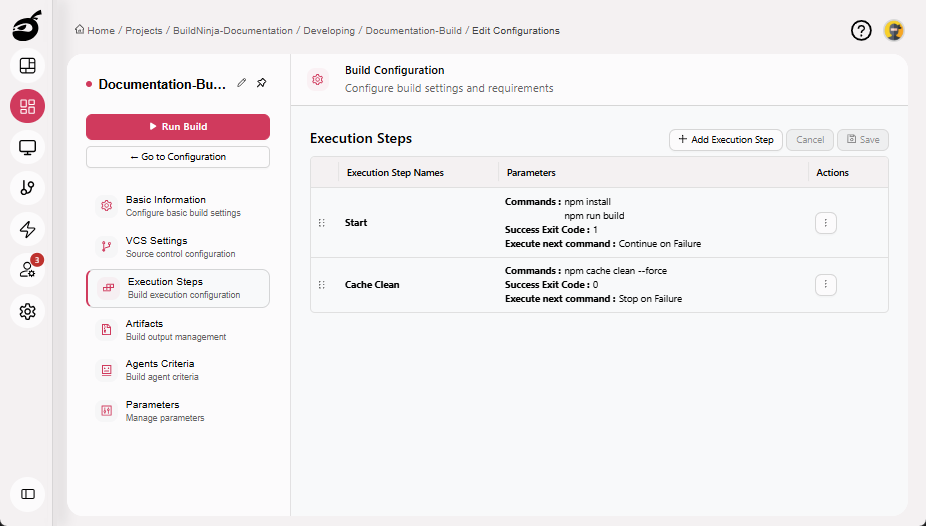
Execution Steps
Edit your execution steps to define how your code is built, tested, and deployed using the following options:
- Add Execution Step: Add a new step to the process.
- Reorder: Change the execution order using drag-and-drop.
- Edit: Update the configuration of an existing step.
- Duplicate: Copy a step to reuse its configuration.
- Disable: Temporarily turn off a step without deleting it.
- Delete: Remove steps you no longer need.
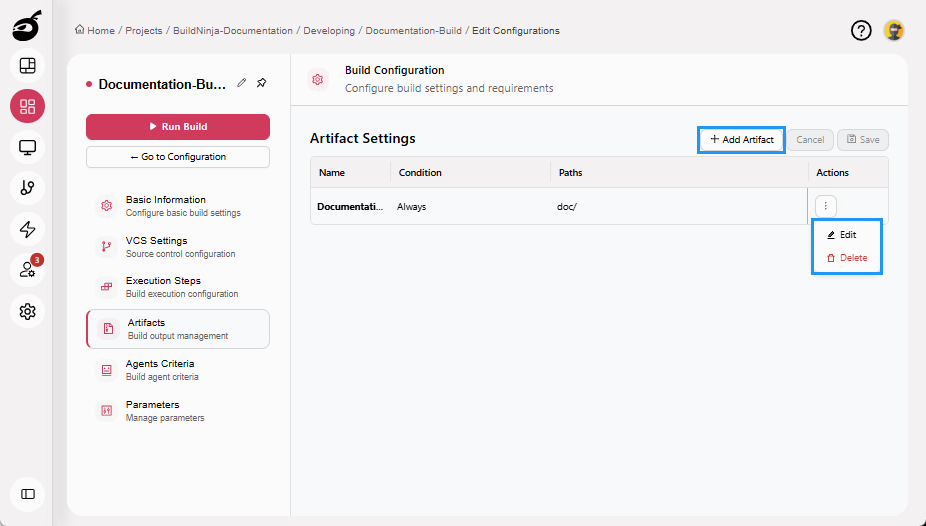
Artifacts
Edit your artifact settings to manage the files generated during builds using the following options:
- Add Artifact: Define new rules for what gets saved or shared.
- Edit: Update existing artifact rules or destination paths.
- Delete: Remove outdated or unused rules.
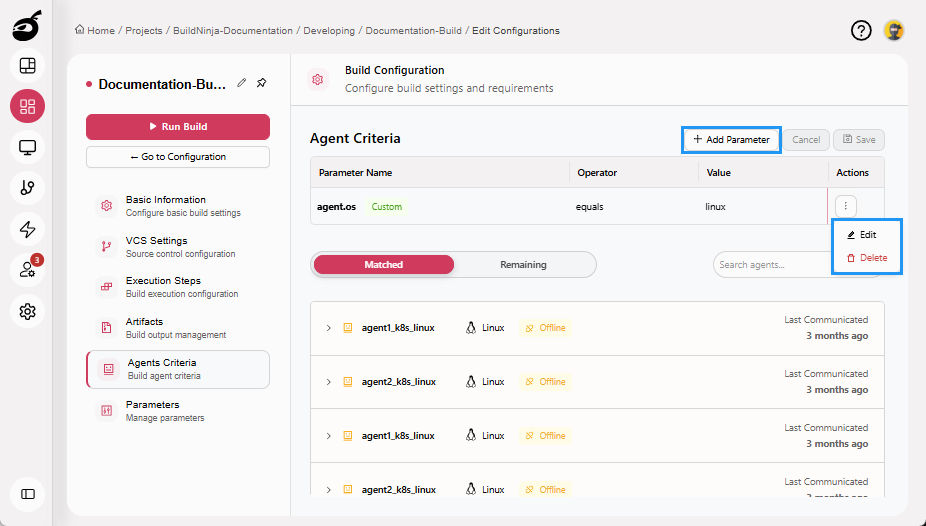
Agents Criteria
Edit your agents criteria to control where builds run using the following options:
- Add Parameter: Add filters to match specific build agents.
- Edit: Update existing filters (e.g., OS, tools, tags).
- Delete: Remove parameters that are no longer applicable.
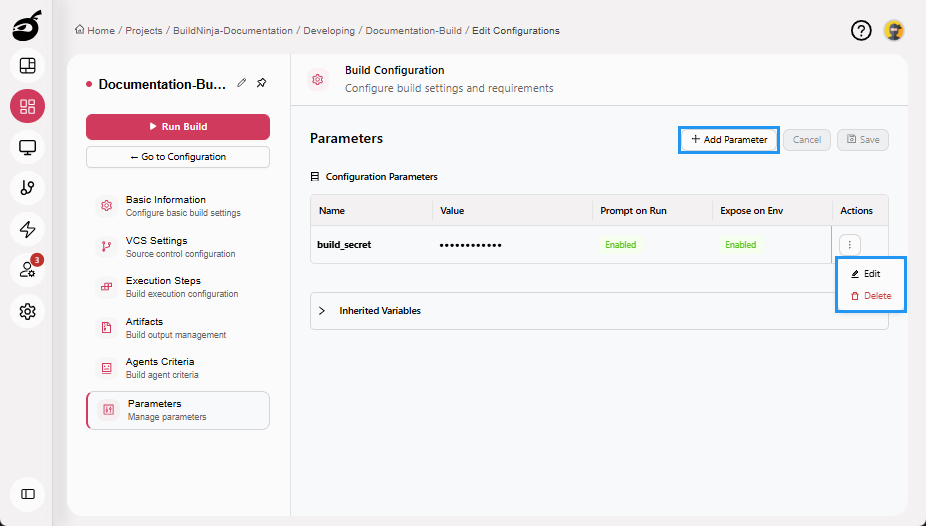
Parameters
Manage your build parameters to customize build behavior using the following options:
- Add Parameter: Define a new variable for use in build steps.
- Edit: Update parameter values and configuration options.
- Delete: Remove unused or obsolete parameters.
How to Edit a Build Configuration
-
Select the build configuration you want to edit and click Edit Configuration.
-
Select the setting you want to edit.
-
Make the necessary edits and click Save to save the updated build configuration.

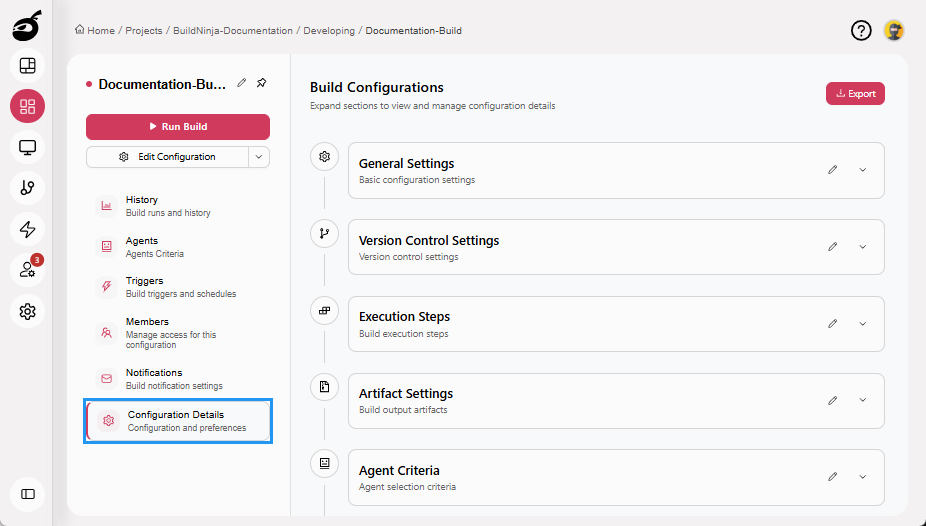
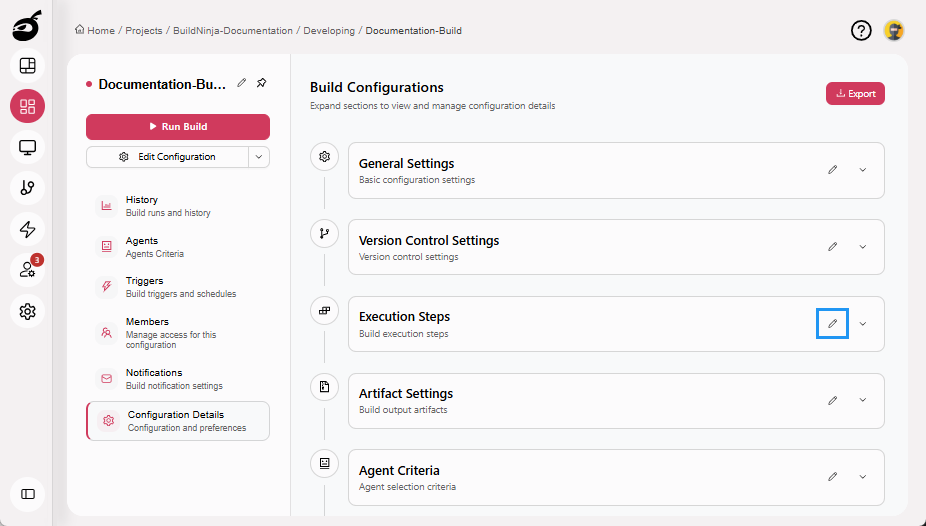
Edit Build Configuration via Configuration Details Tab
-
Select the build configuration you want to edit.
-
Navigate to Configuration Details tab. You can modify the following settings in the Configuration Details tab:
- General Settings
- VCS Settings
- Execution Steps
- Artifact Settings
- Agent Criteria
-
Click Edit icon next to the setting name to open its main settings page.
-
Make the necessary edits and click Save to save the updated build configuration.
