Edit Project and Build Names
BuildNinja allows you to edit the names of projects and builds directly from the overview using the Edit ![]() icon. This will enable you to keep names clear, organized, and consistent as your workflows evolve.
icon. This will enable you to keep names clear, organized, and consistent as your workflows evolve.
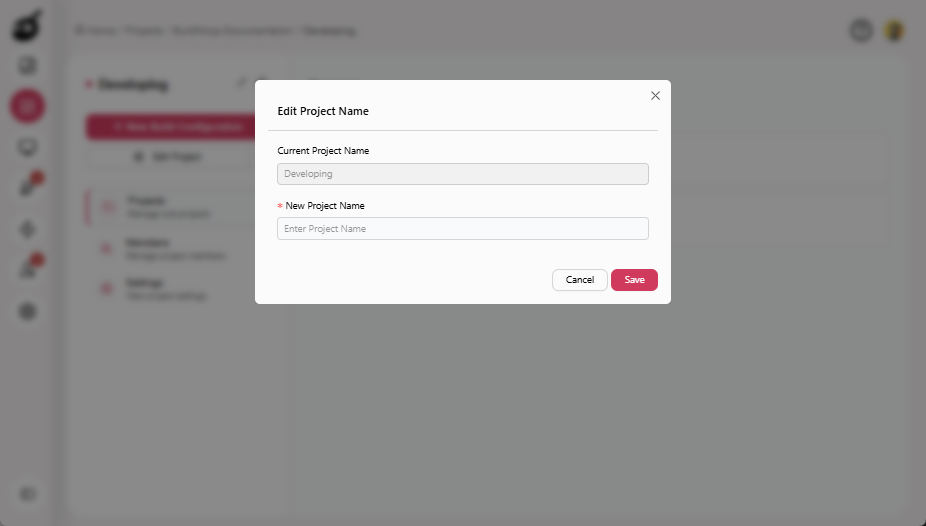
Edit Project Name
-
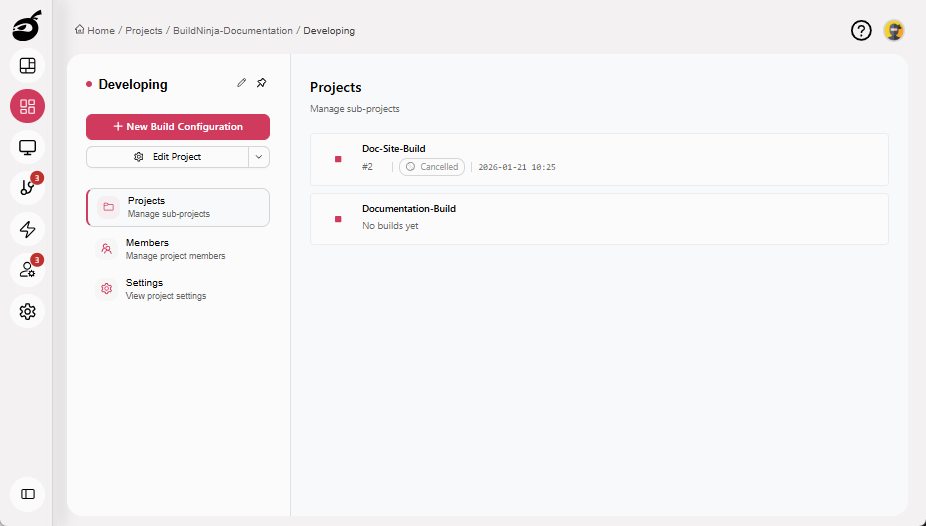
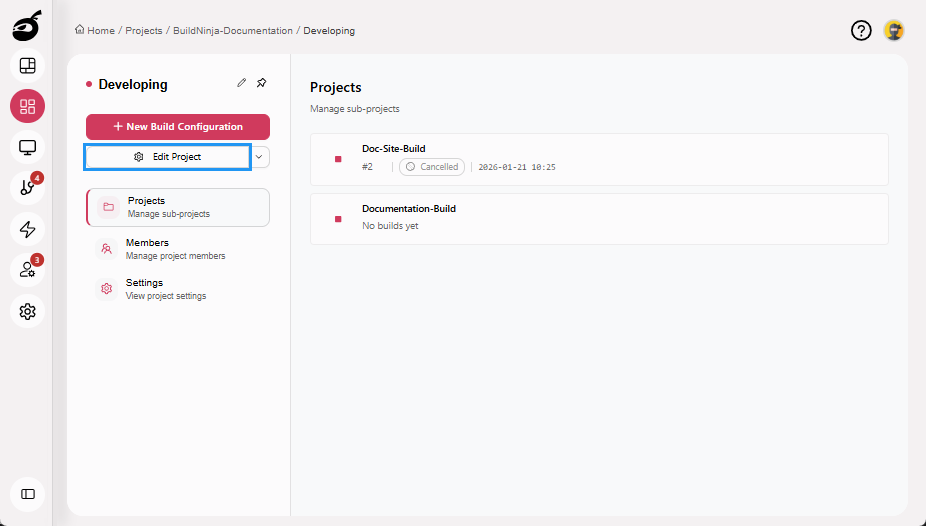
Navigate to Projects
 to access the project management interface.
 -
Navigate to the project you want to rename.
-
Click Edit icon next to the project name.

-
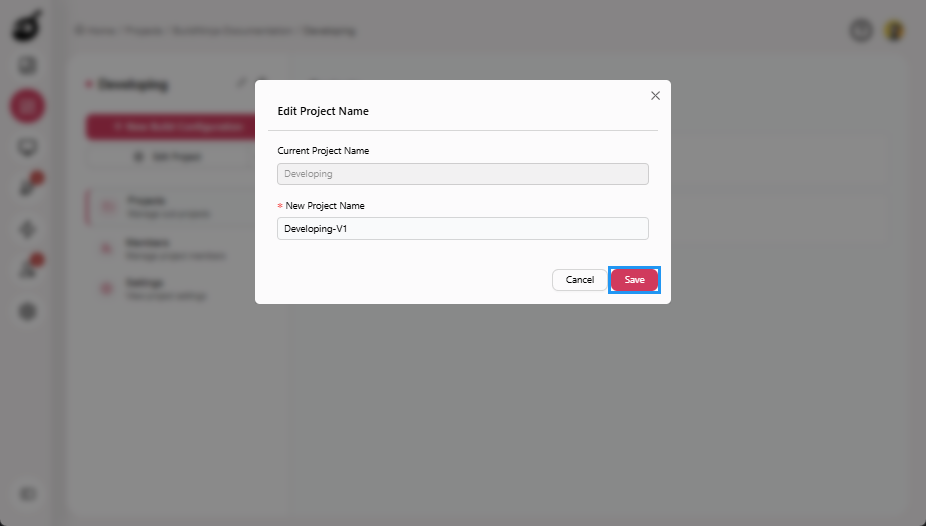
Enter New Project Name.
-
Click Save to apply the change.
Edit Project Name via General Tab
-
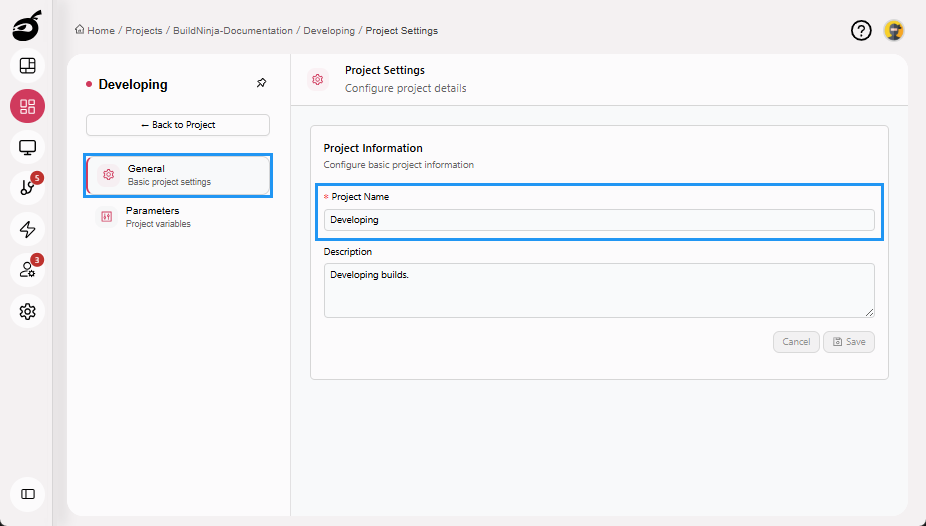
Navigate to the project you want to rename.
-
Click Edit Project.
-
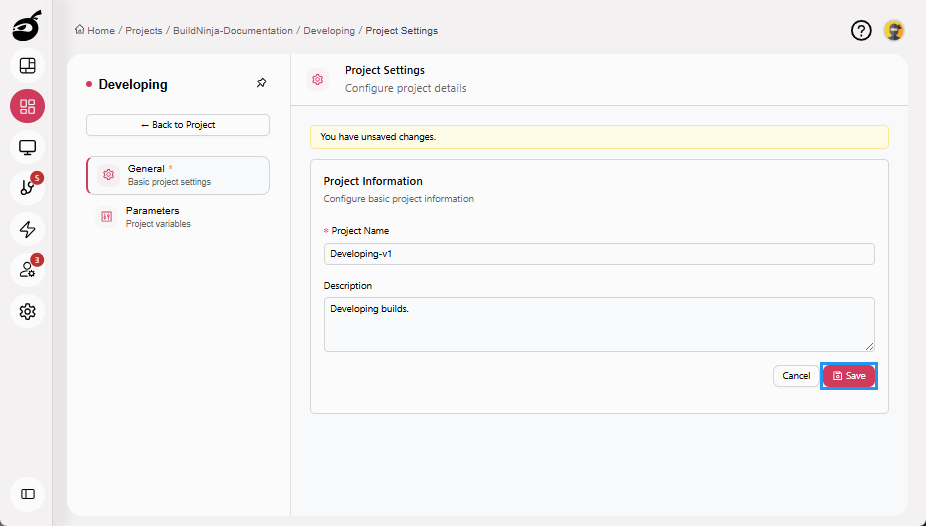
Go to the General tab and update the Project Name.
-
Click Save to apply the updated project information.
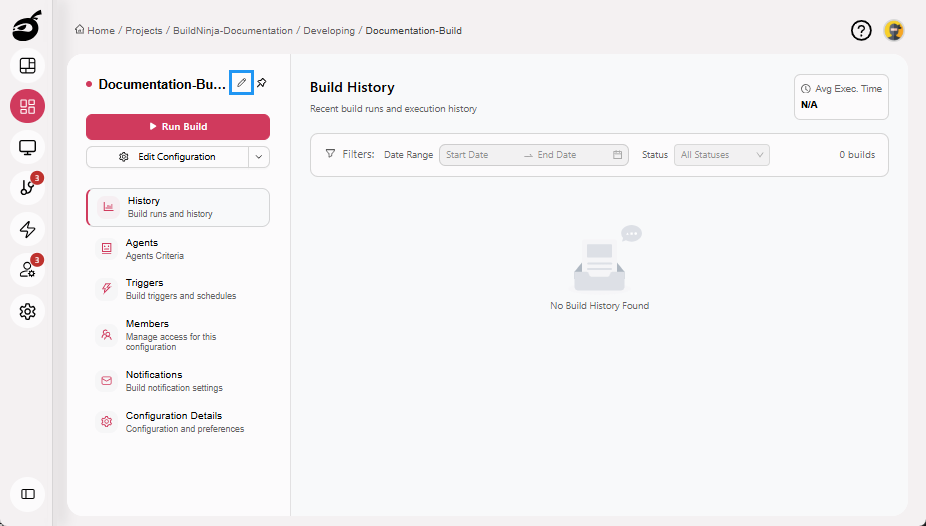
Edit Build Name
-
Navigate to the build you want to rename.
-
Click Edit icon next to the build name.
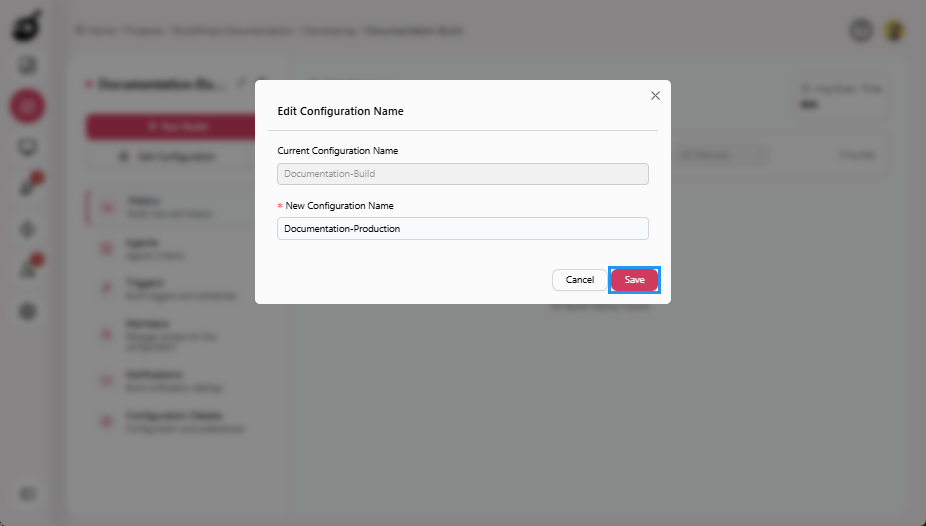
-
Enter New Configuration Name.

-
Click Save to apply the change.
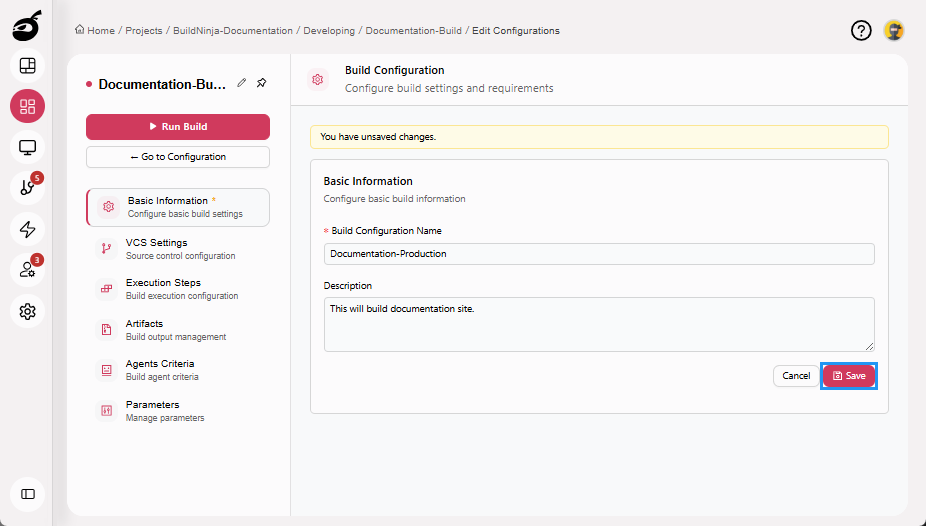
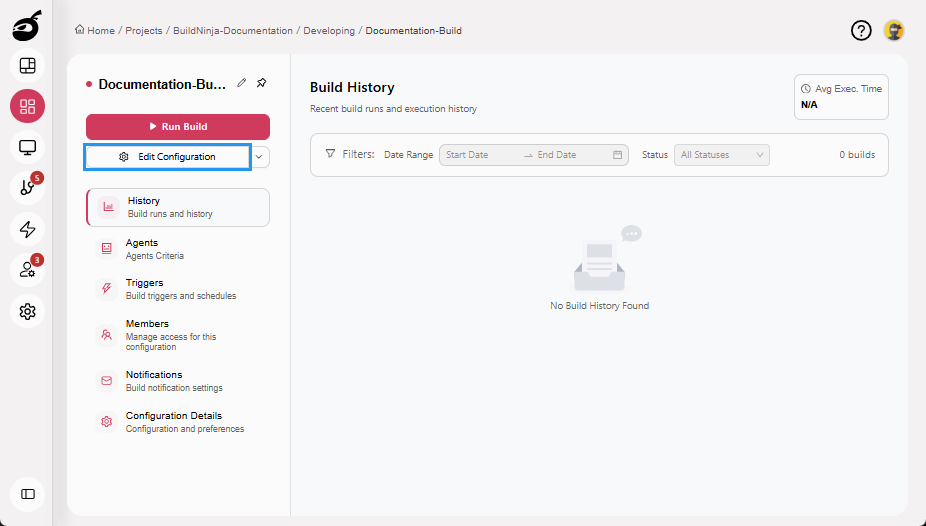
Edit Build Name via Basic Information Tab
-
Navigate to the build configuration you want to rename.
-
Click Edit Configuration.
-
Go to the Basic Information tab and update the Build Configuration Name.
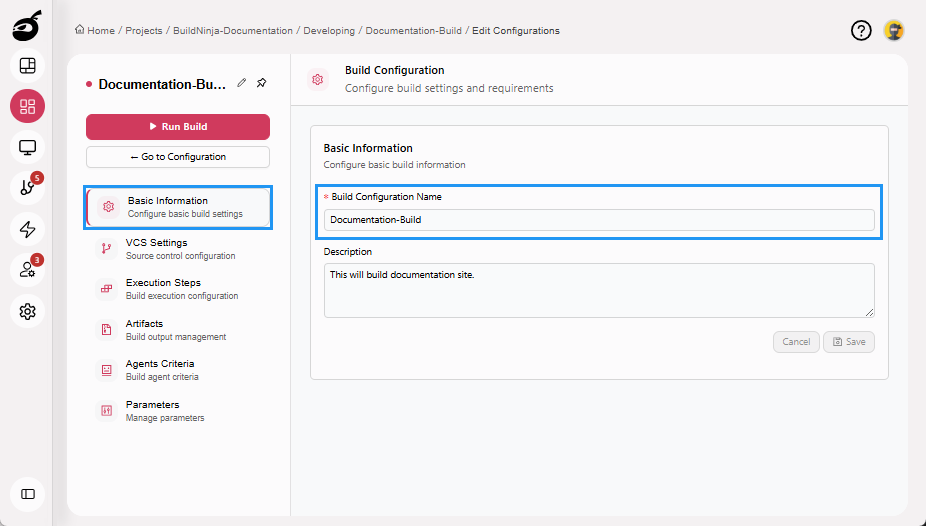
-
Click Save to apply the updated configuration details.